Wet Bar Makeover
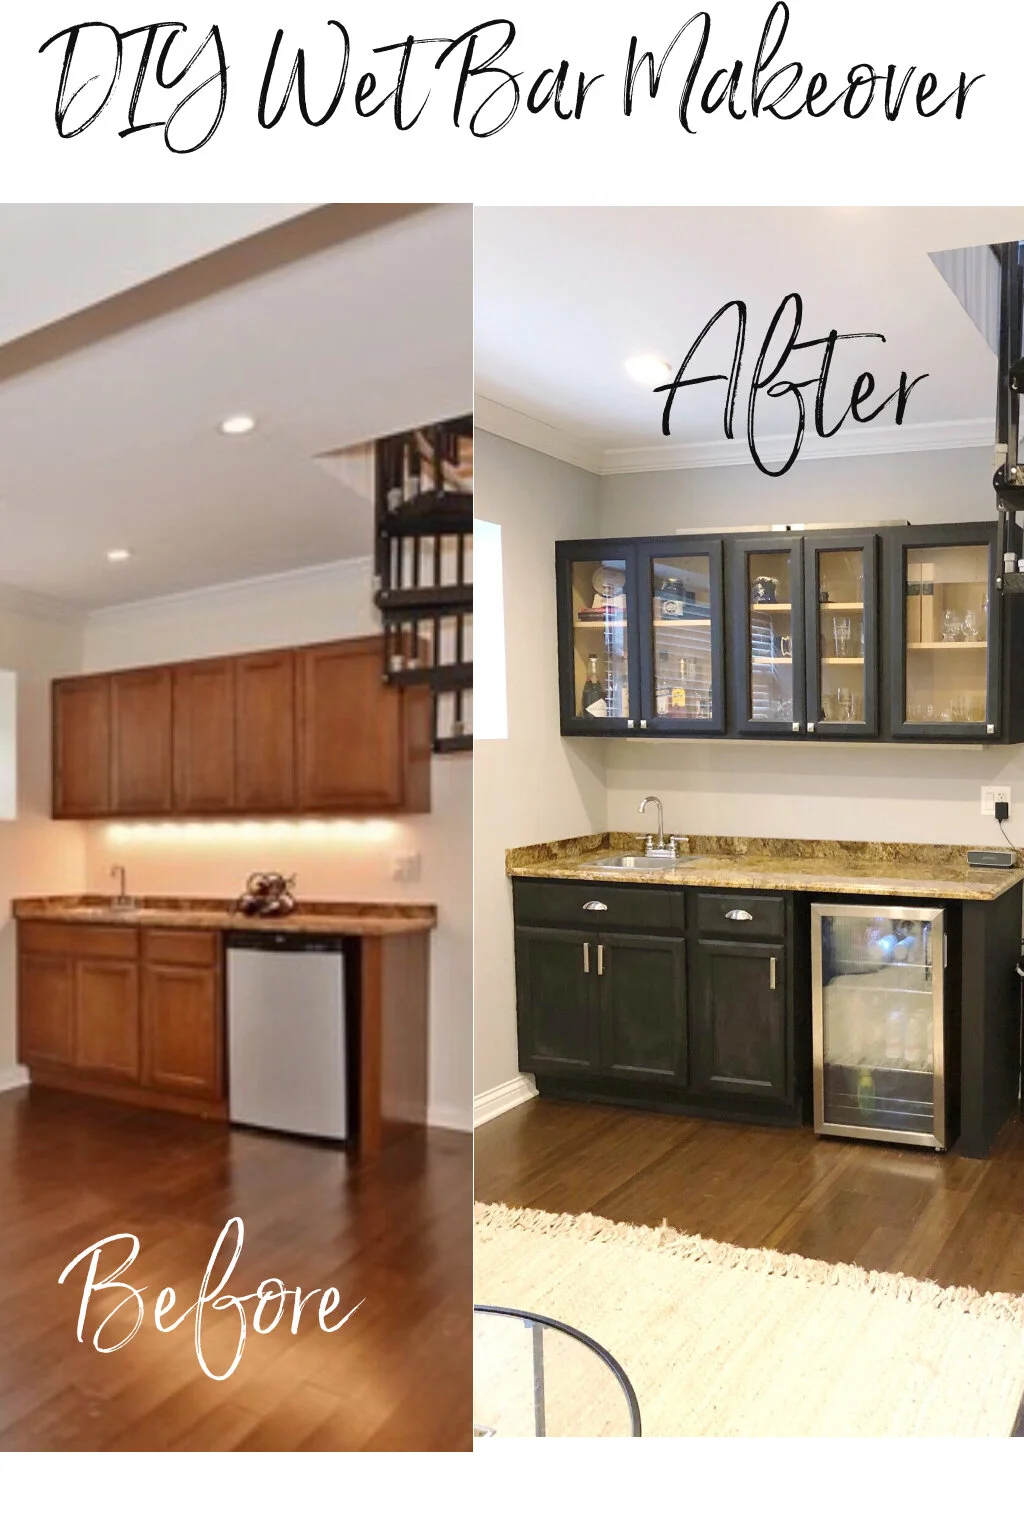
In one weekend - and for $500 - we updated our wet bar from brown and dull to sleek and black!
When we moved into our condo, we painted, updated, and made-over almost every square foot of the place. One thing we loved about the place when we saw it six years ago was the wet bar in the downstairs living room. Such a functional spot for us to entertain and a great place to store stemware! Even though the wet bar was functional, it wasn’t very pretty to me. From the brown cabinets to the college-looking mini fridge, it needed a facelift. Here is what the wet bar looked like when we moved in.
Before the wet bar makeover.
INSPIRATION
Once we had a free weekend on our hands, I went to work finding inspiration. The biggest impact of course would be to paint the existing cabinets and I was torn between going for a light white or a black. I ultimately chose black paint because I fell in love with these sleek black wet bar photos below. I also noticed the glass faced cabinets that show off glasses and cups. And the updated wine fridge that really elevates the look!
THE PLAN
I realized I wanted to do more than paint. I wanted to:
cut the upper cabinets to create the glass look
paint the cabinets black
replace the hardware
replace the mini fridge
Once I had my inspiration and my plan, we made a quick trip to the home improvement store and we were on our way to a new wet bar.
DISASSEMBLE THE CABINETS
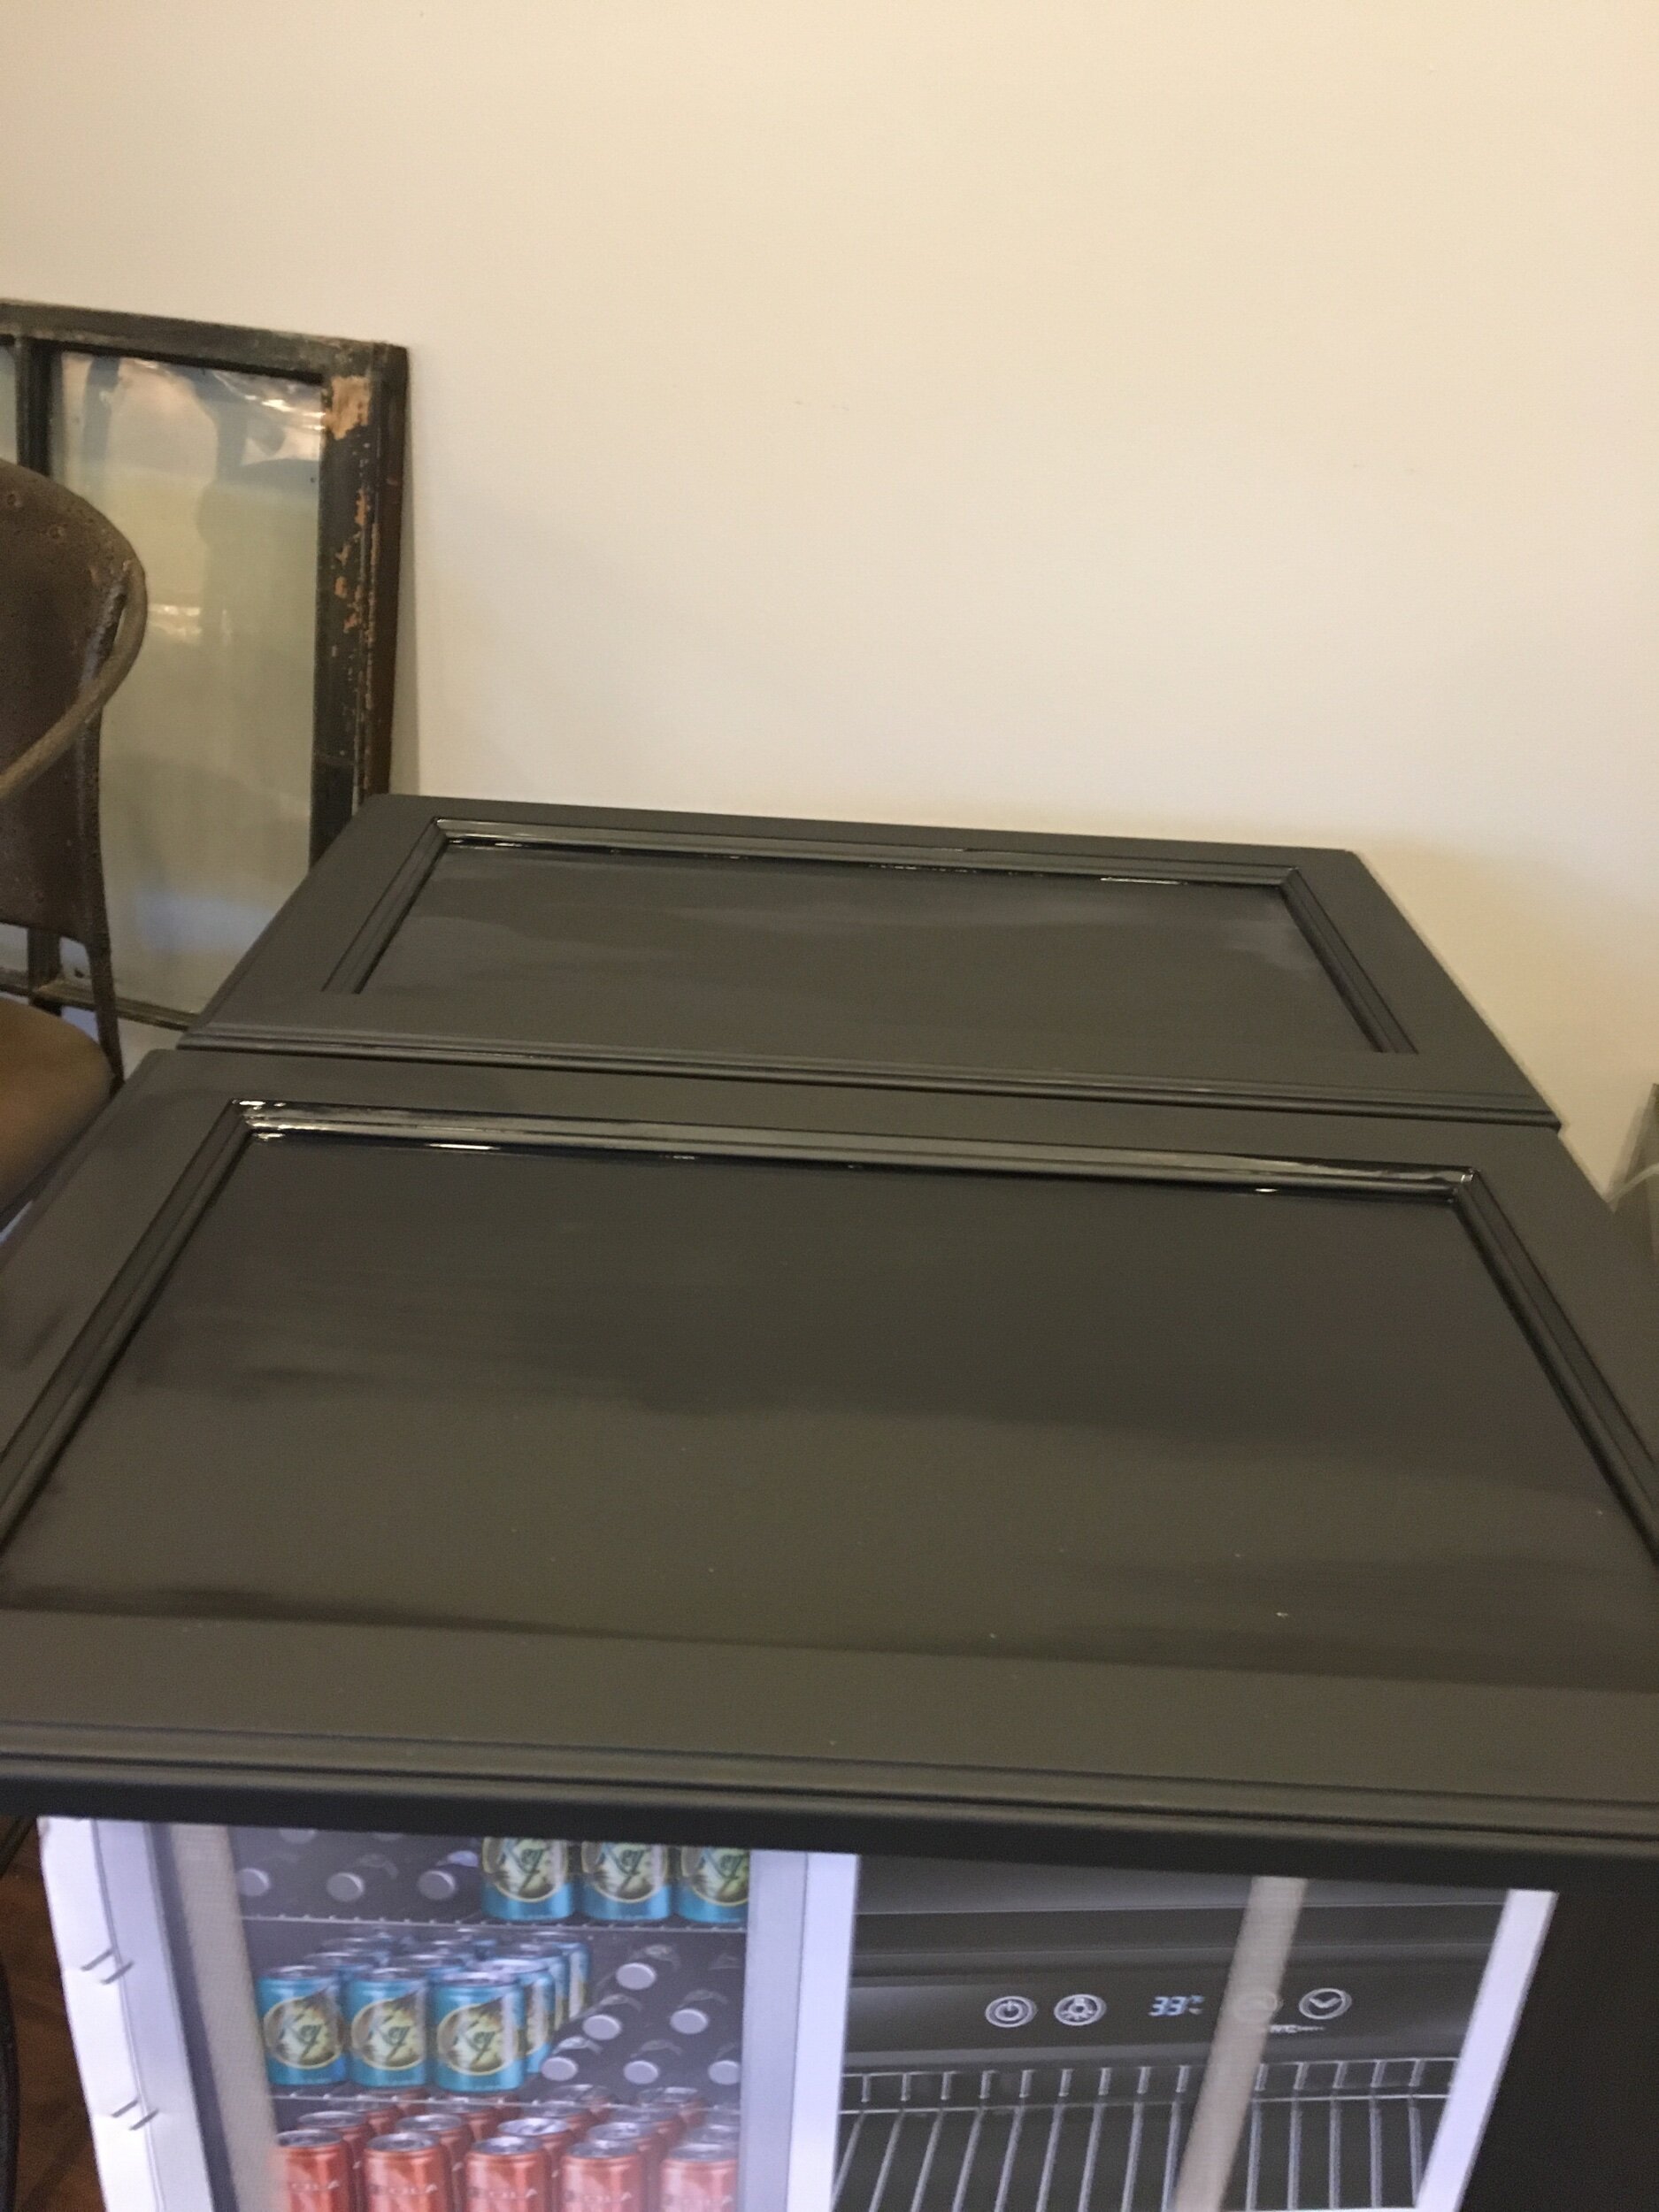
First up, take off all of the cabinet doors to be cut then painted. My husband created a work bench in our living room since we have no garage and he got to work cutting out the center of the top cabinets.
Pro tip: use pencil to mark each cabinet door so you know how to place it when you’re ready to put it back on the cabinet base. I used the number system going left to right (1-5).
CUT UPPER CABINET DOORS
First, we needed to remove the inset of the cabinet doors so we could lay glass instead. We drilled holes in the corners of the cabinets (inside the trim). Once the holes were made, it was a lot easier to go in with a small saw and cut away the rest of the cabinet face. Last, we sanded the edges of the cabinet where we made the cuts. Keeping everything smooth is key for when you want to place the glass.
Note about the glass: I didn’t get any good pictures of us laying the glass into the cabinet doors. We had the glass pieces cut at Home Depot. We brought in one cabinet door as an example. The glass needed to be cut 1/4 inch larger than the inset measurement. We used that extra 1/4 inch to put super glue and glued the glass from the inside. This wasn’t the most clean look when the cabinet doors are open (you can see the glue underneath the clear glass) but it was really easy for us to do and looks great from the outside!
Drilling holes into the cabinet doors made it easier to saw.
PAINTING CABINETS
While my hubs cut the upper cabinets, I painted the cabinet base We realized it would be a lot more expensive to reface the cabinets so we used chalk paint. This requires minimal prep, I simply wiped the cabinets clean and got to work painting! I obviously chose a black chalk paint and it hid any imperfections in the cabinetry.
Painting the cabinet base with black chalk paint.
I chose not to paint the inside of the cabinet base or the shelves. I only painted the outside of the cabinets and the doors and drawer. I like the way the light wood popped inside the exposed cabinets. And for the lower cabinets, we kept the doors fully intact so the shelves / inside of the cabinets didn’t show unless you open the doors. I did remove the lower cabinet doors while I was painting. Just to make sure I got every crevice of the base. I was careful to paint the upper cabinet doors BEFORE we glued the glass inside. Otherwise, I would have had to be extra careful to not get paint on the new glass.
Painting the upper cabinet doors.
Painting the lower cabinet doors.
HARDWARE & GLASS WINE FRIDGE
After we put all of the cabinet doors back on the hinges, our wet bar really started to come together! We upgraded our mini fridge to an actual wine fridge with a glass door. It made a huge difference. I organized our drinkware and stocked the bar. I grabbed some nickel hardware from the store for the cabinets. I especially loved the pulls on the lower drawers.
DIY Wet Bar Makeover
All in all this was a great weekend project and super inexpensive! The most expensive piece was the wine fridge. Just shows you what some paint and a little elbow grease can do.
I should note, when we did this project we lived in the apartment full time. We still own it but now rent it out. The current renters love the wet bar! They use it to entertain frequently. Such an easy upgrade that really paid off with the renters. I’d highly suggest an inexpensive project like this in a rental property or Air BnB. If you do this project, let me know how it turns out!
Finished product! DIY Wet Bar Makeover
DIY Wet Bar Makeover


