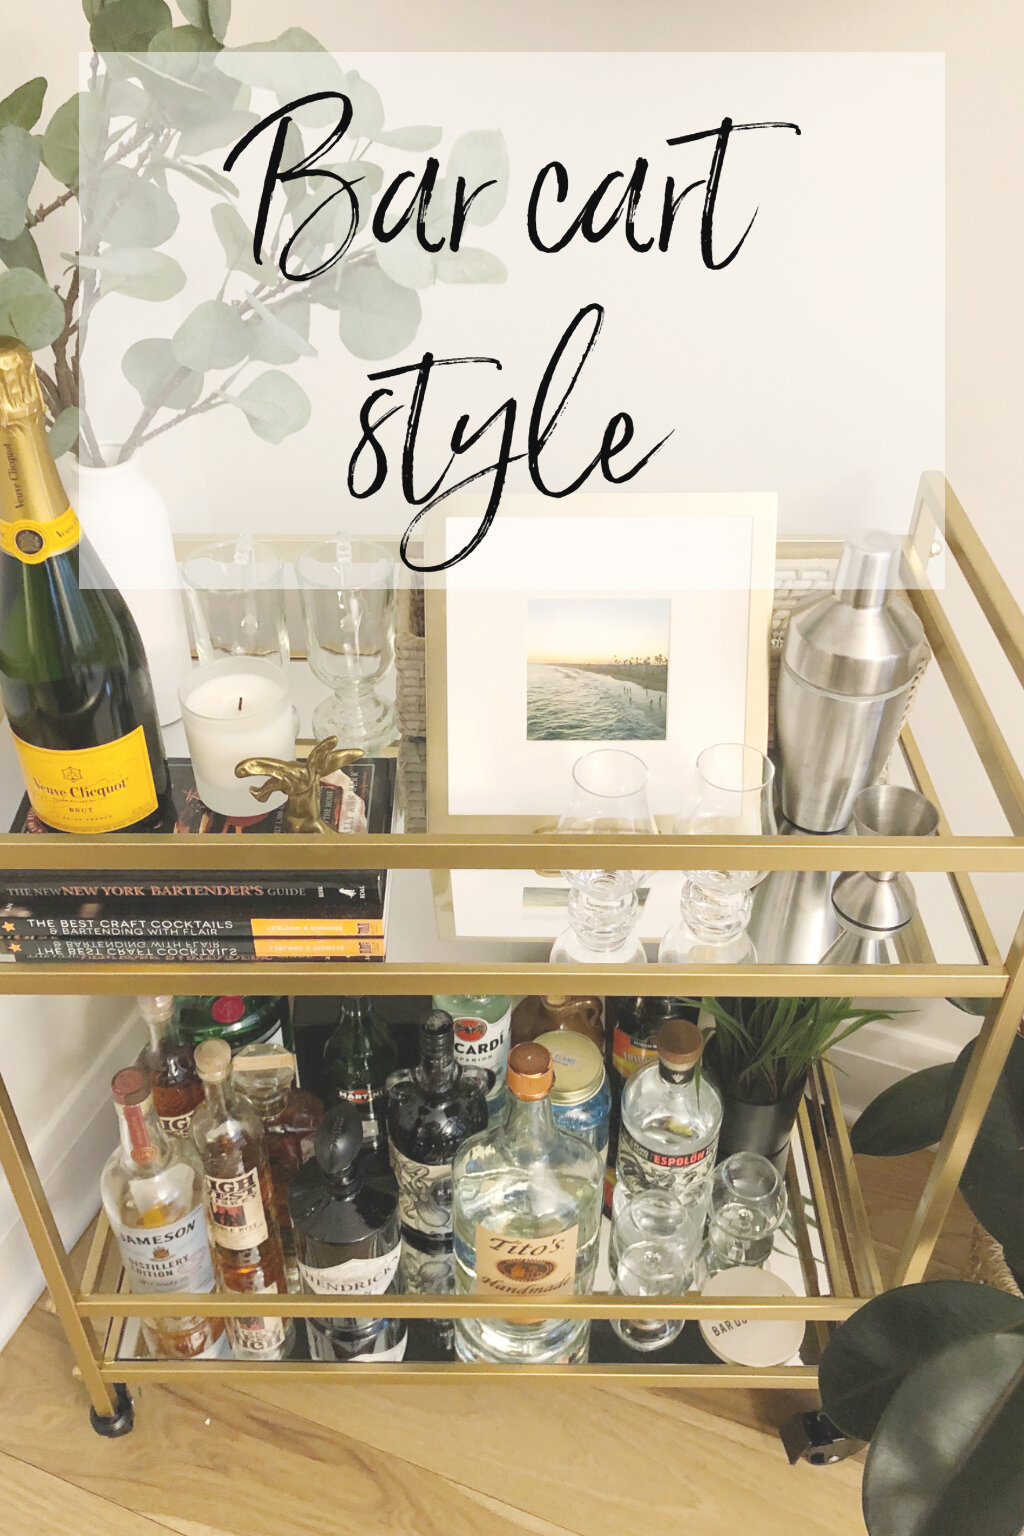
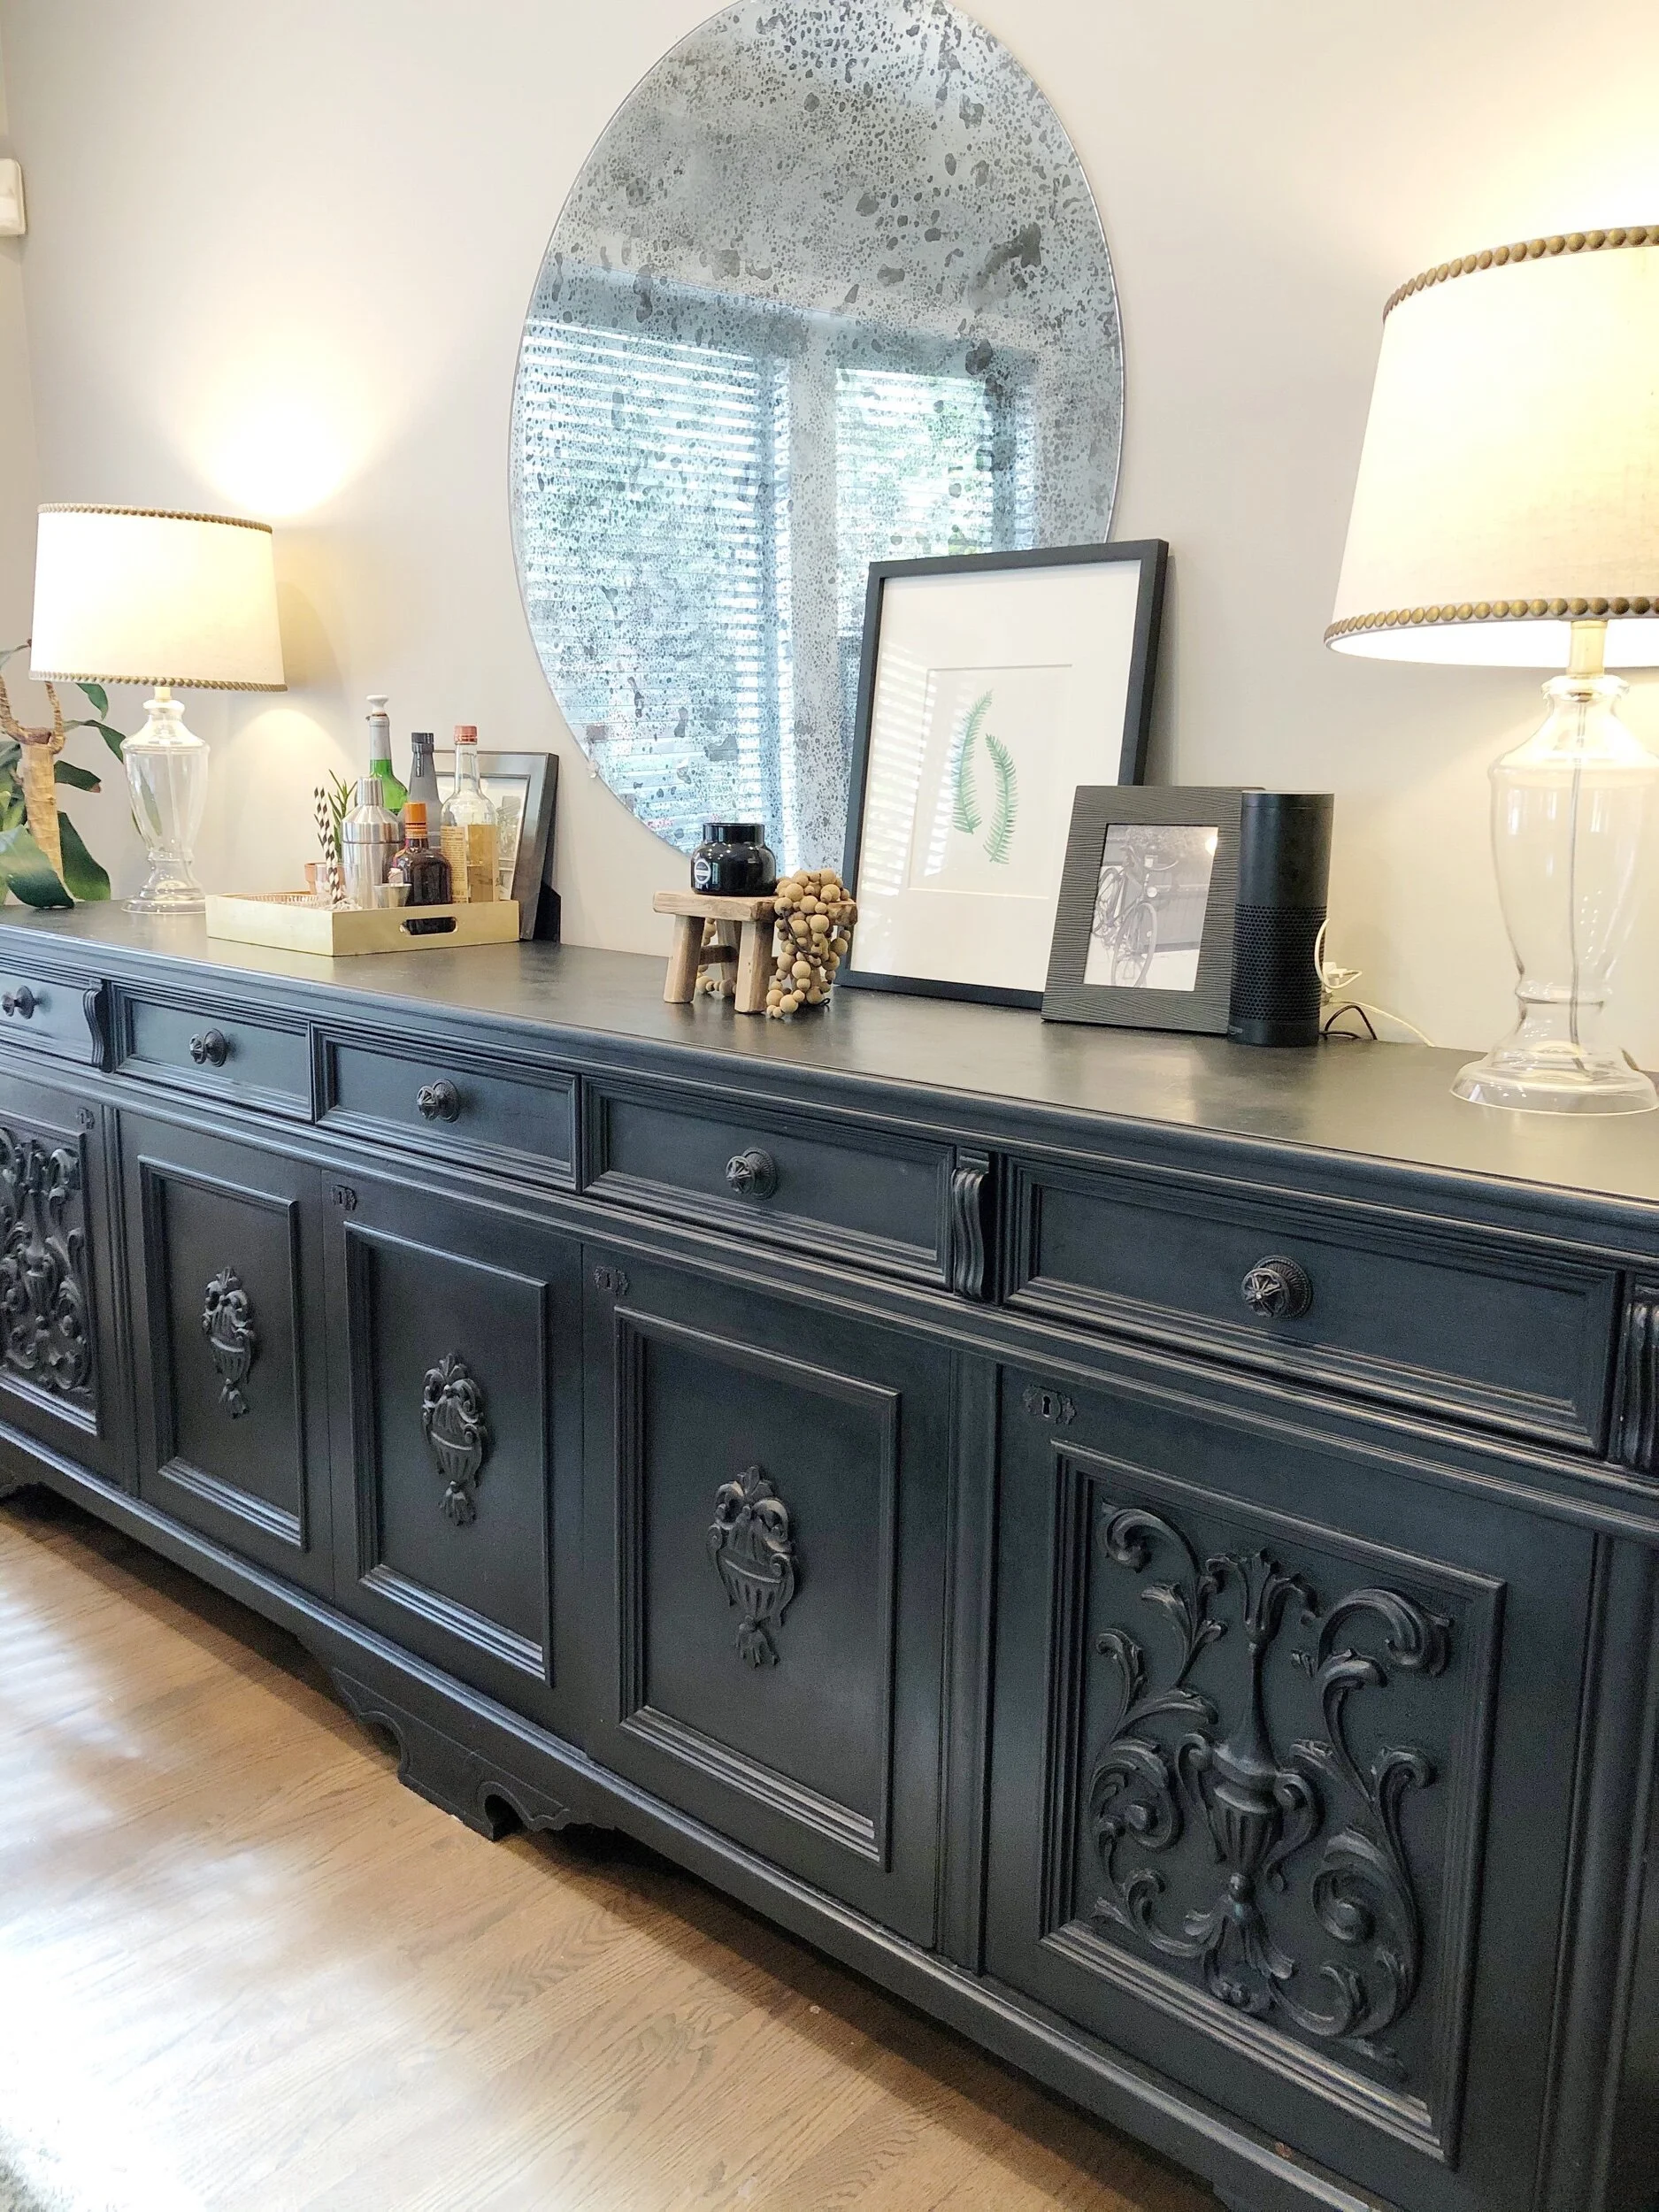
Bar Cart Style
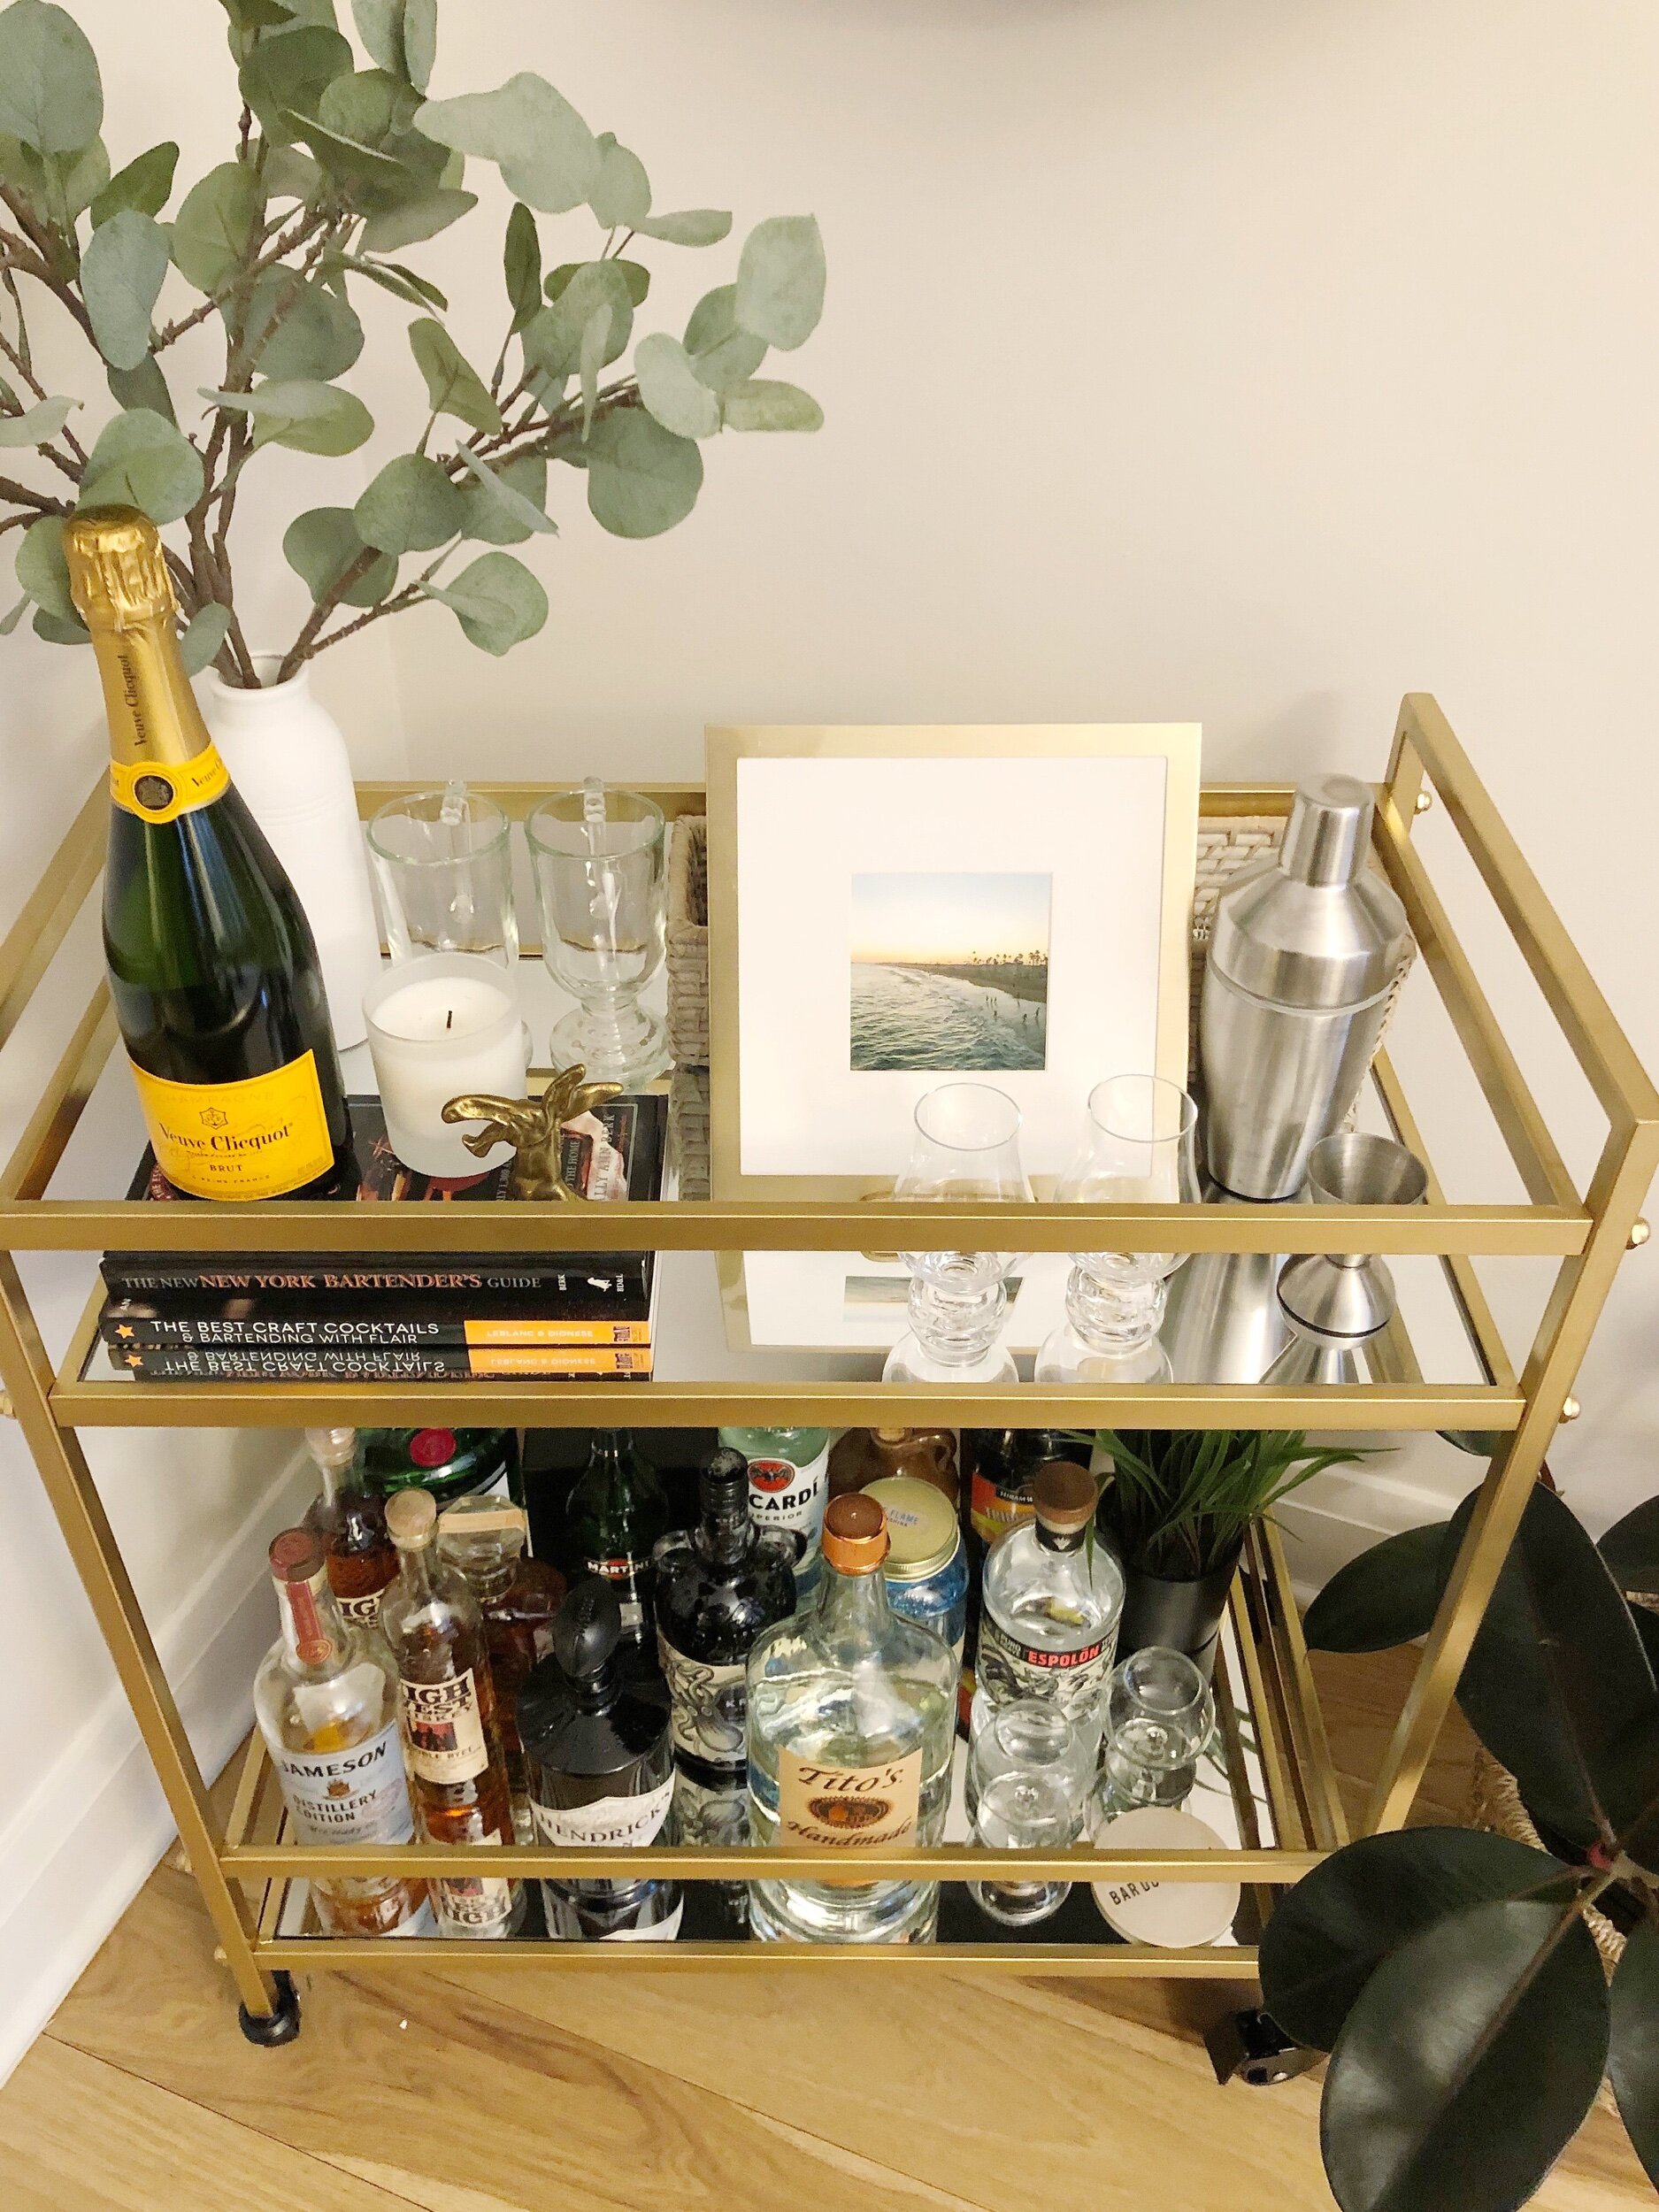
I am so excited about this post because I have wanted a bar cart in this house since the moment we moved in. My mother-in-law gifted me one for Christmas this year and I was thrilled! I obviously couldn’t wait to put it to use, so as soon as we took down the holiday decor I got to work. I followed a few simple steps to make the bar cart stylish, yet functional. Also, can we just talk about the brass bar cart in general?? I love, love the color. It just pops nicely on our white walls. Plus the mirrored shelves are everything! I am linking the cart, as well as some accessories below in this post.
If you’re styling your own bar cart, have fun with it! And don’t forget you can change it up. I plan to re-do the bar cart for at least every season. Happy decorating!
How To Style A Bar Cart:
Step 1: I placed all of the liquor bottles on the bottom shelf and organized them by type. In my case, our bottles weren’t that pretty to look at and we had a decent amount. Placing them on the bottom shelf filled it out nicely without drawing the eye to each bottle.
Note: If you’re starting from scratch, select a variety of liquors to build the bar. A good rule of thumb is one of each: vodka, tequila, whiskey, gin, and rum. Adding in a selection of wine: red, white, and a champagne is always nice - and pretty!
Step 2: I added some height to the cart. I used a few cocktail books in a stack. I also found a vase with eucalyptus stems to add height to the top shelf.
Step 3: I created interest with a few key pieces. I displayed a gold bottle opener from my grandpa on top of the cocktail books. It’s pretty to look at and useful! Then I added a small framed photo. You can use a funky glass, a wine carafe, a trinket, anything you have laying around that is interesting and makes sense on the bar cart will work!
Step 4: Next, I added in utility. Any bar cart needs a proper cocktail shaker, a shot glass, and some glasses for pouring drinks into! I have a toddler running around, so I stuck with some smaller choices like brandy glasses and Irish coffee mugs. But I would love to add in some long stem champagne flutes and pretty tumblers eventually. This is the time to display the glasses you’re proud of! And change it up depending on the season - margarita glasses for the summer, wine glasses in the fall, etc.
Step 5: Finally, I disguised all of the tiny bar ware accessories in a pretty basket hidden near the back of the cart. All those little things like a wine opener, matches, shot glass, etc. needed a home - so I gathered them into a basket. You could easily use a pretty bowl or a wooden box for this, too. Get creative!
And ta-da! The bar cart was done and ready to be used. Not by me, of course, since I am 21 weeks pregnant :) But I am dying to have a friend over to pour them a little cocktail in this cozy spot. Keep reading below for links to everything for the perfect bar cart - cheers!
Bar Cart Links
Brass Bar Cart - Love the two tiers, the brass/gold finish, and the mirrored shelves. Perfect bar cart!
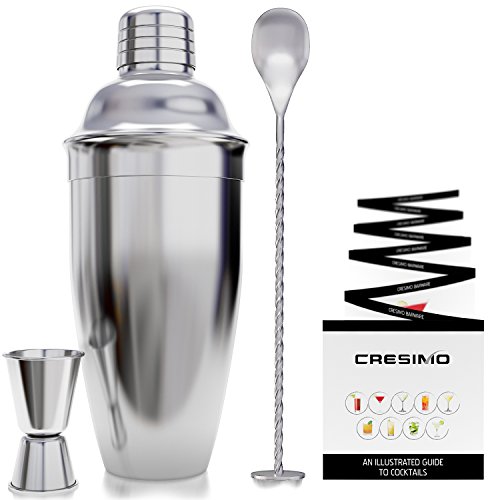
Cocktail Shaker - An essential for any bar. I like the larger shakers, to fit a better size cocktail or two.
Brandy Glasses - Just like the ones I have on my bar cart. These feel special for an after-dinner drink.
Irish Coffee Mugs - Ok, you can use these glass mugs for lots of things (mulled wine, spiked cider, a hot toddy). I love having these on hand for warm wintery cocktails!
Funky Wine Opener - Any funky wine opener will do, but I love the look of this pineapple one!
Cocktail Book - There are tons of choices out there, but this one is pretty to look at :)
Decorative Box - I love this box nd want it for myself! Perfect for storing all of those bar cart accessories.
Candle - These Amazon soy candles smell great and burn a long time.
Candle Snuffer- Another thing I want for myself! Can you believe I’ve lived this long without a snuffer? It might be time…I love this matte black one.


