5 Steps to a Perfect Gallery Wall
I’ve put together a few gallery walls over the years and it’s not always as easy as it looks! There’s balance to achieve and planning ahead is key. There truly is an art to it (pun intended!) Here are my 5 steps for styling the perfect gallery wall. And if you’re in the mood to keep styling, check out my post on Shelf Styling here!
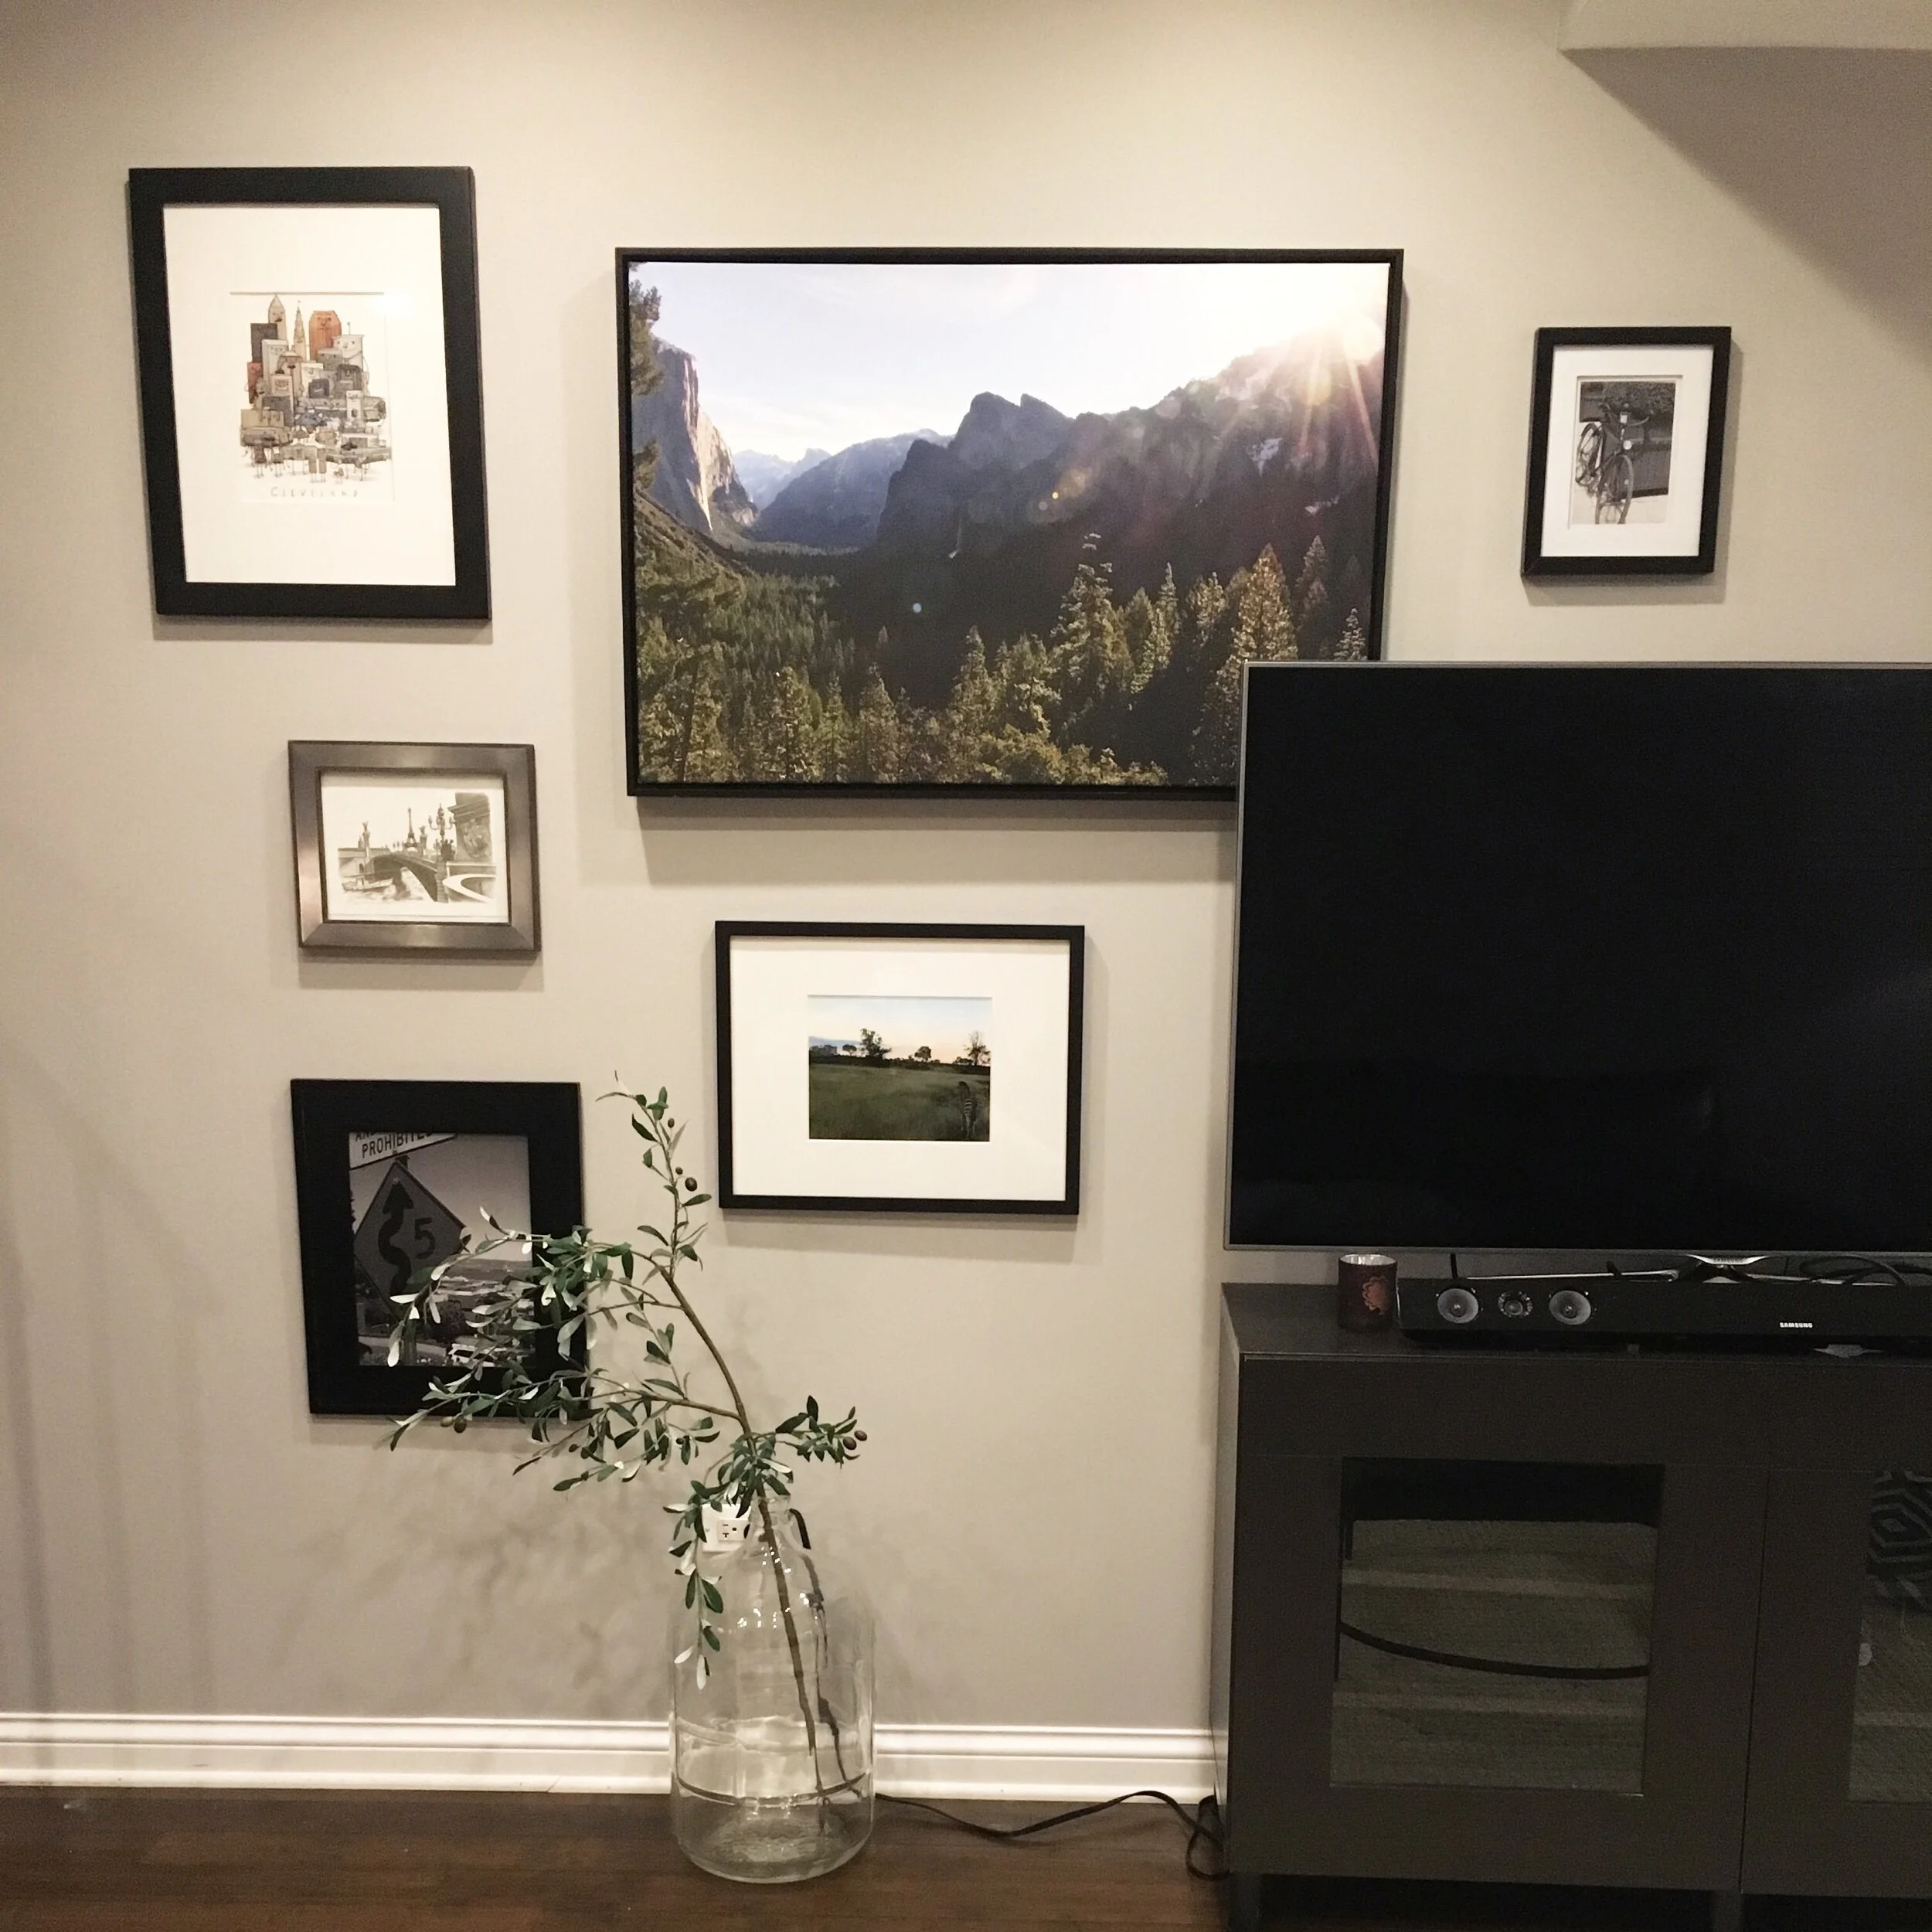
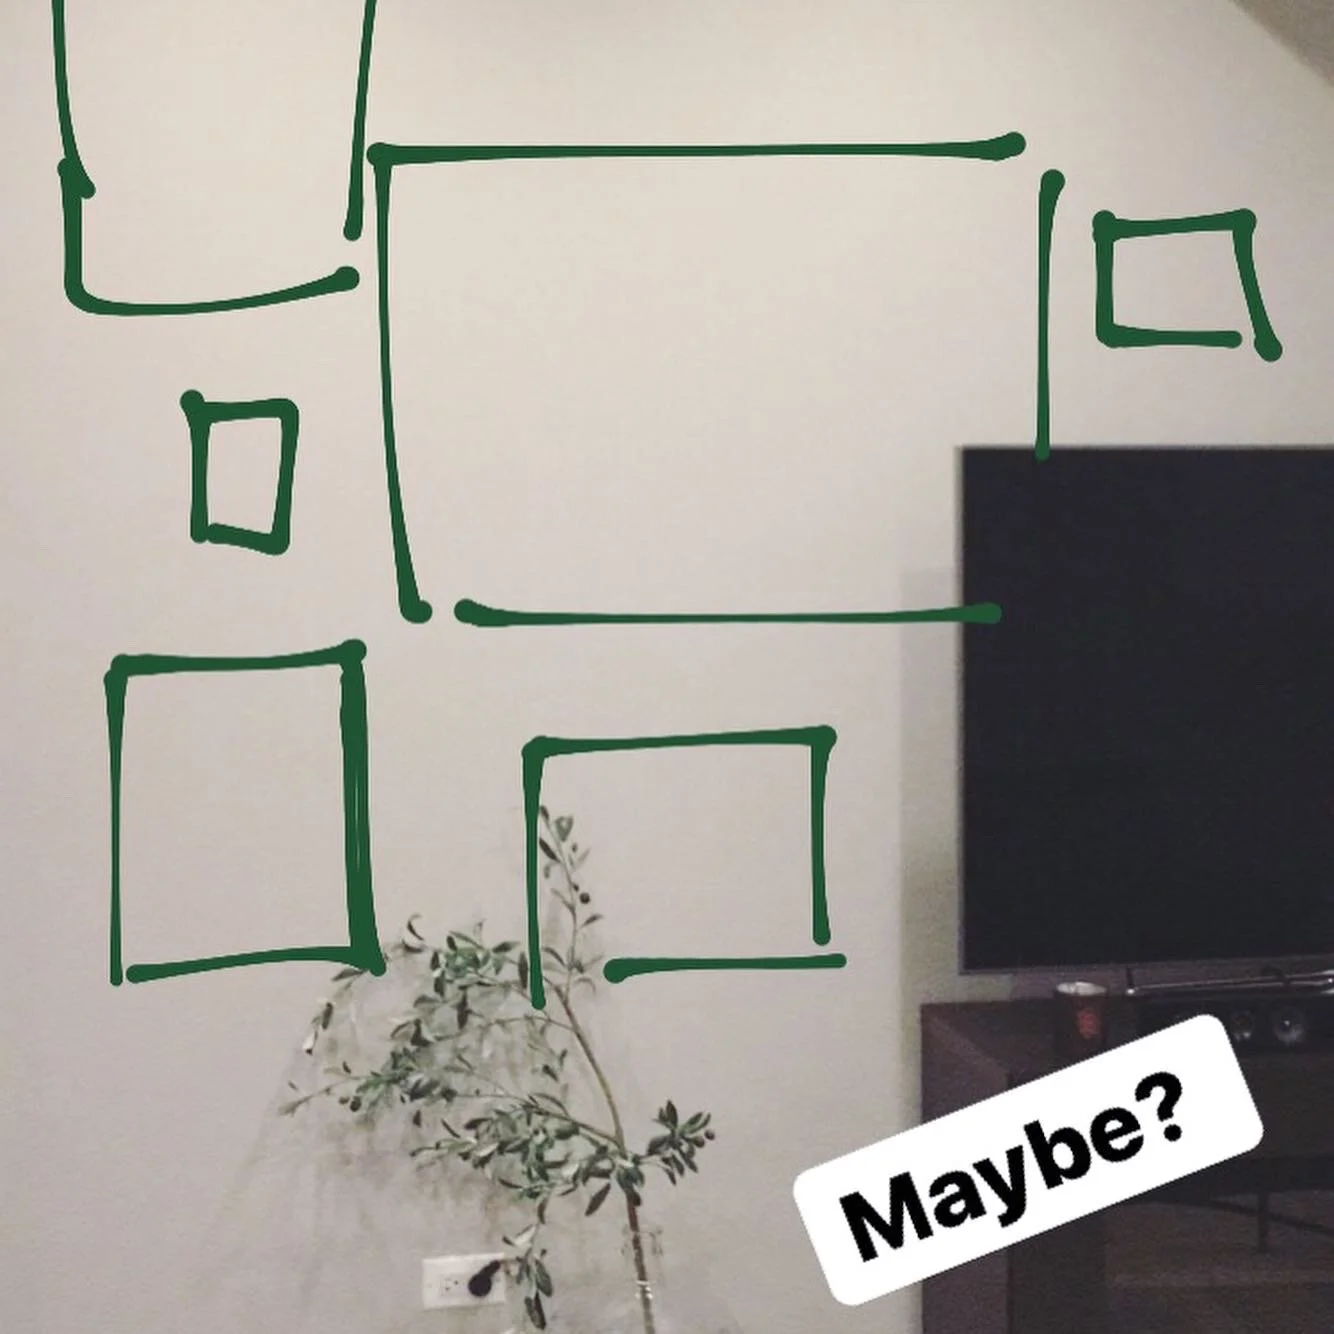
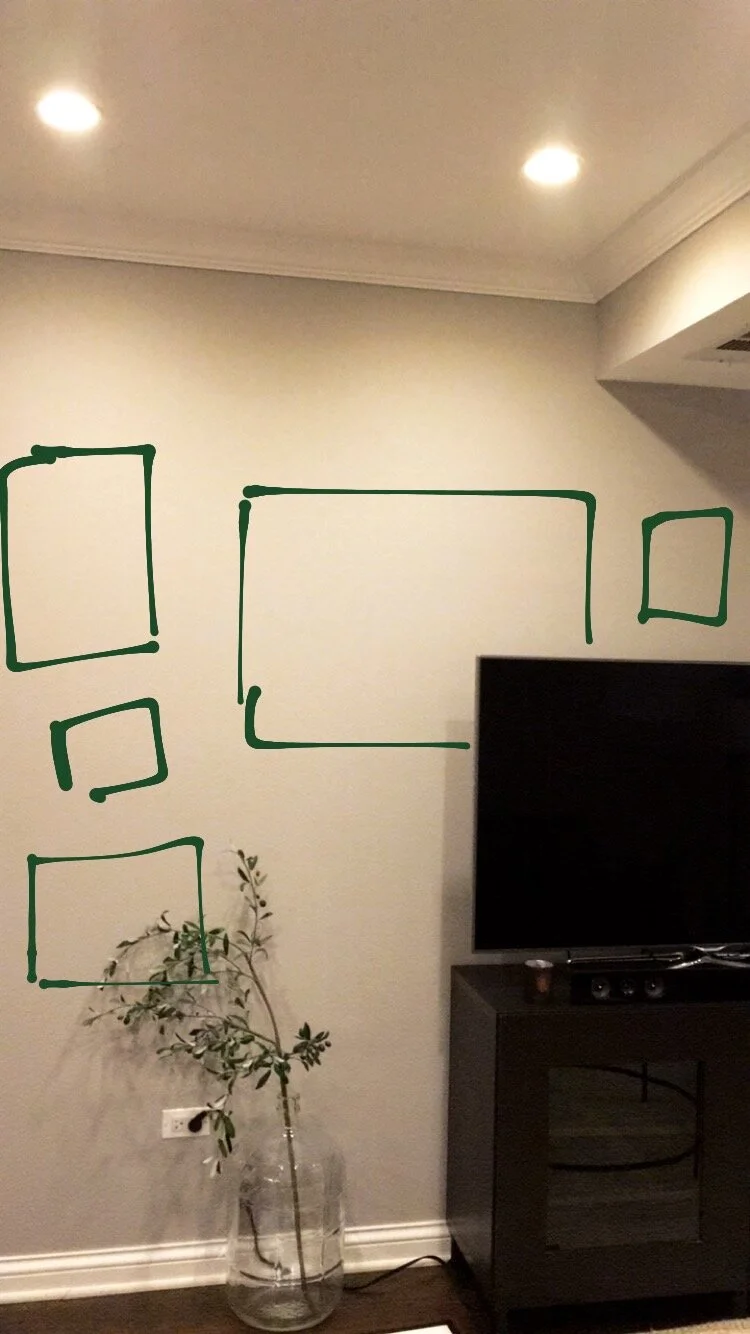
1. Collect photos and art from around your home of various shapes and sizes. Forgive me, as some photos are screenshots from when I captured the process on Instagram stories!
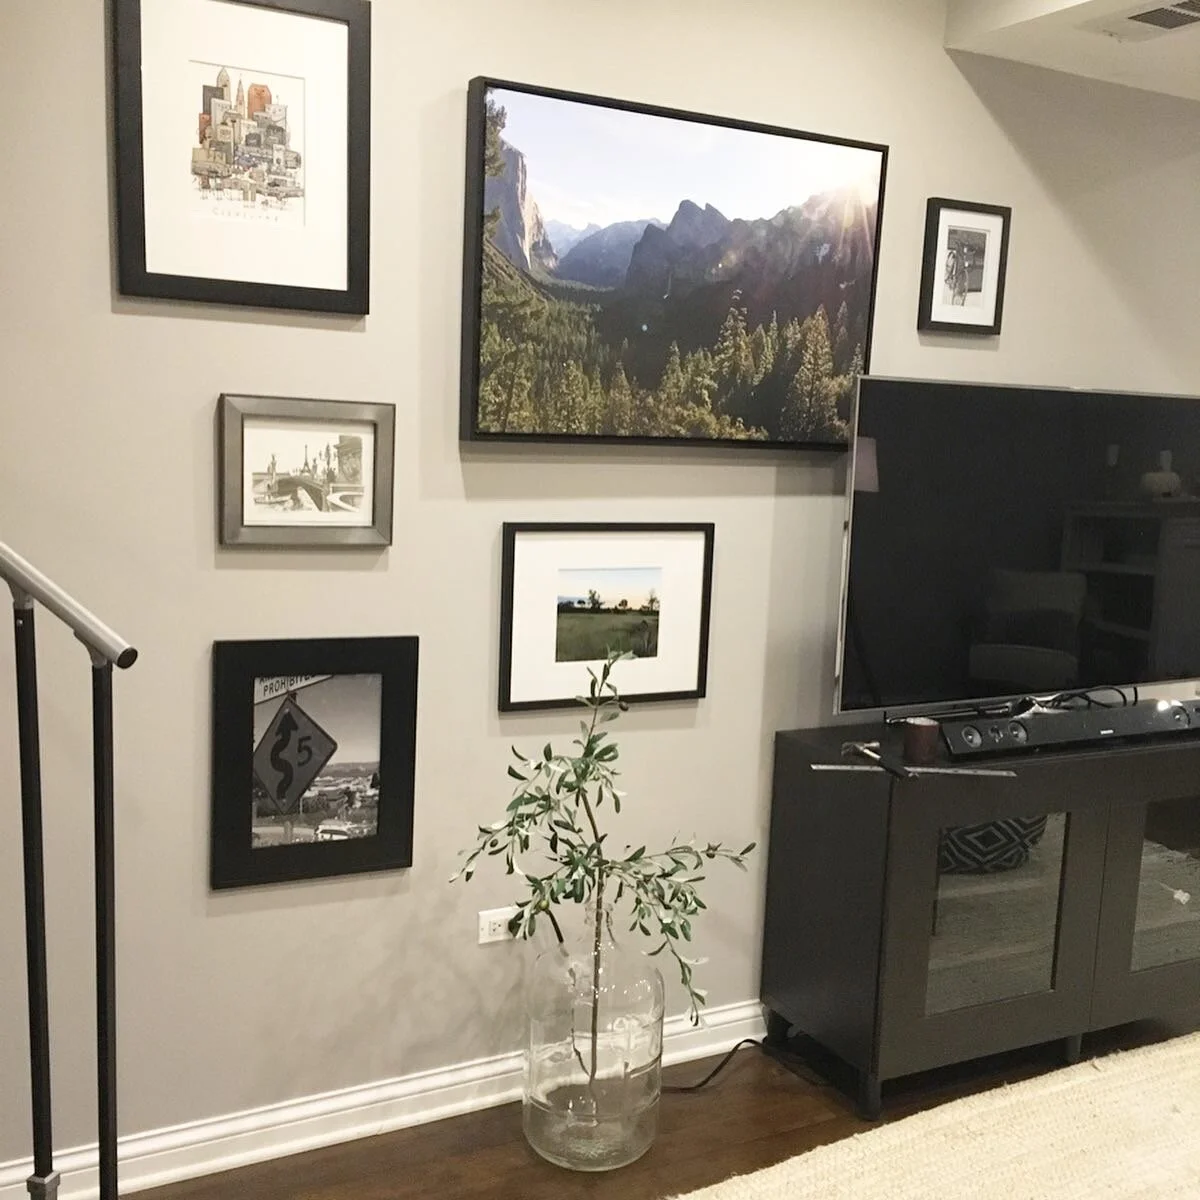
2. Make sure there is cohesiveness either in the frames or in the art itself (here, my frames are mostly black and my art and photos have mostly green and blue tones).
3. Don’t be afraid to off-set the TV with a gallery wall! Especially if you don’t have the TV mounted above a fireplace, a gallery wall can help “anchor” the TV to the space.
4. Draw or tape out the layout on the wall beforehand. You’ll want to achieve balance by alternating a vertical piece next to a horizontal piece, etc.
5. Lay everything out on the ground one last time to make sure you’ve got it right. This is where you can make sure the actual art works together in the order you’ve arranged. Ex: If I only had two black and whites, I wouldn’t want those next to each other. I also would balance a drawing next to a photo (vs photo next to a photo).
And there you have it. Now it’s time to make your nail holes and get to hanging! 🔨The good thing about a gallery wall is that if you don’t like it, you can change it! And usually your art will disguise any old nail holes anyway :)
Happy decorating!


